A Room-Lighting Makeover: The Before-and-After Checklist
Start with one corner and one job, check the real placement, then compare consistent views without mistaking photographs for brightness measurements.
By Lumière Light Studio Editorial
Start with one corner and one job. Perhaps the chair needs light on a page, or the end of the sofa needs a lamp that can be operated without standing up. Choose the problem you can describe in one sentence. “Make the whole room better” is too broad to tell you whether a change has helped.
This is a checklist for planning a change, not a report of a completed experiment. There is no fixed time allowance or required number of lamps. Some corners need a different placement; others need a more suitable type of light. The first useful result may be deciding not to add anything to an already crowded surface.
Define success at the place you use
Write the job beside the place where it happens: read in the armchair, operate the sofa lamp from the seat, or add a visible evening accent to a blank corner. Keep practical illumination separate from decoration. A lamp can be a pleasing object without supplying the light needed for a detailed task.
Decide what would count as an improvement before changing the arrangement. For the armchair, it might be seeing the page without a distracting source in view. For the sofa, it might be reaching the control with the side table still holding a cup. These are observations you can check directly, rather than promises about the whole room.
Leave useful existing lighting available. You do not need to turn the room dark to prove that a lamp makes a difference. If the corner depends on the ceiling light for navigation or a particular activity, that remains part of the plan. The question is what the proposed lamp adds under the conditions you actually use.
Eliminate layouts that cannot work physically
Measure the actual surface, including the space already occupied by everyday objects. Check the lamp's stated base dimensions, widest point and overall height rather than judging fit from a close-up photograph. Allow for the control and the direction the cable exits. A shade can overhang a small base and still conflict with a door or nearby furniture.
Sketch up to three possible positions on existing suitable surfaces before moving anything substantial. Mark the seat, outlet, door swing and walking route. Reject a position if it requires a cable across a passage or leaves no usable space for the activity. You are comparing feasible locations, not decorating three corners at once.
Trace the full cable route for the position you prefer. Check the specified cable and power arrangement rather than inventing an accessory solution. Use only the cable or adapter the listing or manufacturer specifies; ask support about uncertainty. If placement requires electrical work, leave that work to a qualified professional.
Set the lamp on the proposed surface according to its instructions. Sit where you normally sit and look towards it, then turn towards the page, table or screen you use. Check direct glare and reflections. Repeat from a second commonly used seat if the corner is shared. A standing inspection can miss the view that matters most.
Record three views with a clear purpose
Take a daytime view with the proposed lamp OFF. This records its shape, scale and relationship to the furniture when it is not glowing. Include enough of the room to show the corner in context. Note whether daylight and the normal curtain position leave the arrangement looking crowded or visually balanced to you.
Later, choose one camera position for an evening pair. Take the first view with the proposed lamp OFF, then the second with it ON. Keep all other lights at the same settings, with curtains, furniture and the camera angle unchanged. Do not compare a bright daylight image with an evening image and attribute the whole difference to the lamp.
Phone cameras commonly auto-expose, adjusting how light or dark the picture appears. They may also change colour rendering between frames. If your camera allows it, hold exposure and white balance constant for the evening pair. If it does not, label the images as automatic-camera views and treat the visible difference cautiously.
Photographs are not brightness measurements. They are useful records of composition, reflections and where light appears in the scene. Return to the chair and assess the actual activity. A photograph that looks atmospheric does not establish whether a page is comfortably visible or the control is convenient to reach.
Change one variable before deciding
If the first arrangement is awkward, change one thing: the position, the surrounding objects or the lamp itself. Then repeat the relevant check. Moving the table, changing the curtains and adding another light together may create a different scene, but it will not tell you which change addressed the original problem.
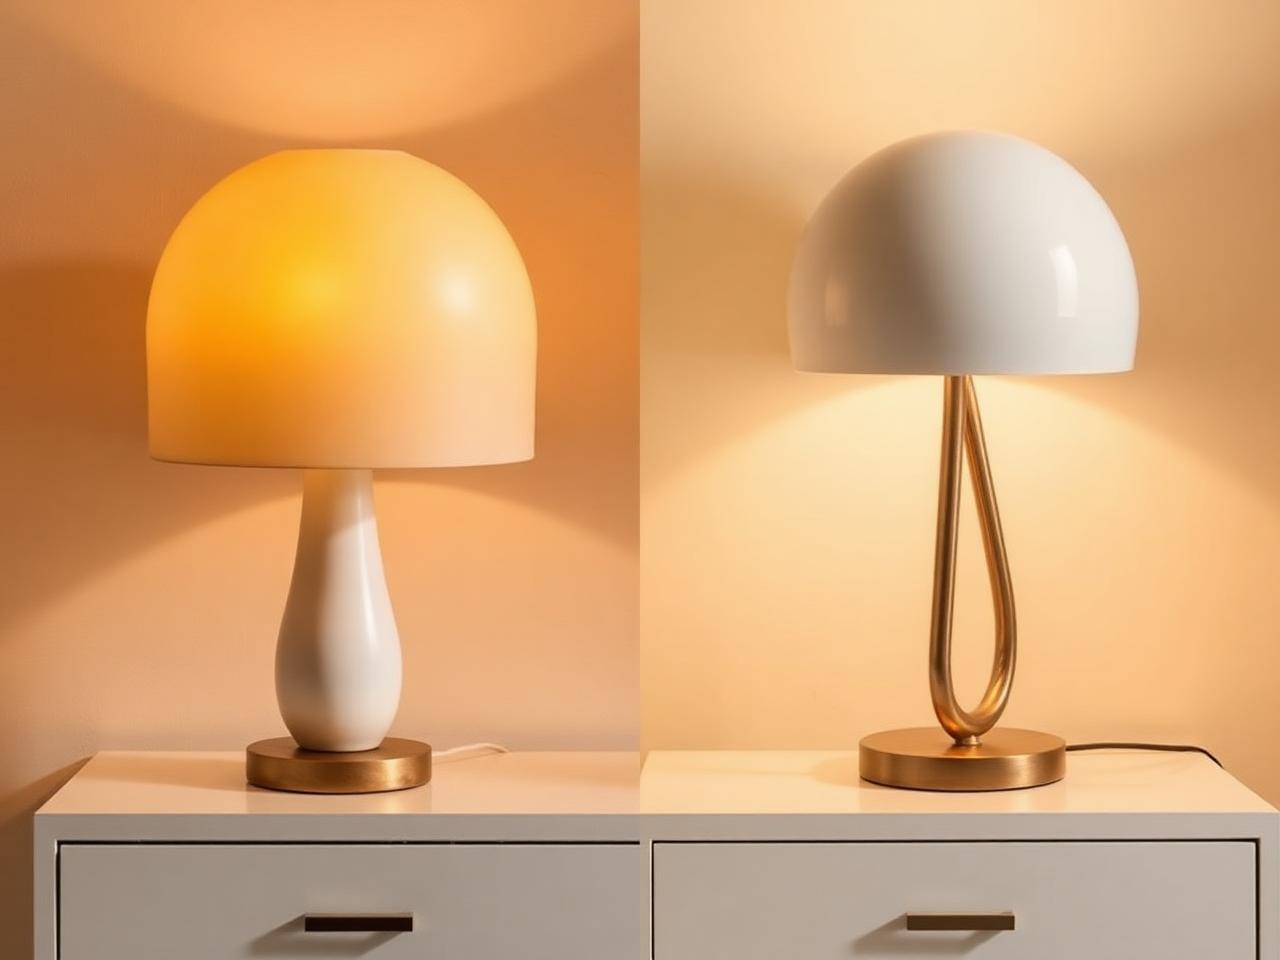
If comparing two candidate lamps, use the same surface position and viewing point, one at a time, with the other room lights unchanged. Keep comparable camera settings and record any settings you cannot hold constant. Compare reach and page visibility in person. Different shapes or light patterns may suit different jobs; this is not a laboratory ranking of output.
Finish with three notes: what works, what remains awkward and what fact is missing. The next step might be checking control location with the seller, retaining the current lamp in a new position, or choosing a task-focused fixture instead. Keep the daytime view and evening pair as a record, then let the actual corner—not the most flattering photograph—guide the decision.
The Editor's Notes
Get the Lumière styling notes
One quiet essay a month on layering light and shaping the atmosphere of a room. No noise. Unsubscribe anytime.
The Editor's Notes
One essay. One piece. Once a month.
Quiet dispatches from the studio. Unsubscribe anytime.
For the hour after
For the hour after the overhead light goes off
Shop lamps built for the quiet part of the evening.
Share this guide